
This is the bag I made for Leann Chivers when she launched the Frou Frou Collection.
Many of you requested instructions to make your own.......So here they are.
 |

You will need.....
A piece of light coloured cotton fabric big enough to cut out at least 5 A4 sheets.
3 sheets of Fabric Transfer Inkjet Paper
(If you are not using Serif to create the front, you will need an extra sheet to print a topper)
14 inch zip
Bias binding
Lace and Ribbon for trimming
First we need to do the printing.
Serif Version
Choose A4 Landscape Layout
Page 1
Drag a background onto the layout.
From the embellishment section chose a topper and drag onto the page and resize as desired.
Place this about an inch from the top.
Add any other items and any text.
Remember group the text as soon as you insert it, so that you can resize easily
You now need to flip the text so that it prints correctly onto the transfer paper.If you have chosen a backing paper with text you will also need to flip that as well.
(Click the text then on the righthand side on the arrange tab choose the icon that looks like two sails. Text should be reversed. )
Once you are happy with the layout Save.
Insert a Page 2
Drag the same background onto the layout.
Print 1 copy of page 1 and 2 copies of page 2
Remember you are printing onto the plain side of the paper so make sure your paper is inserted into the printer correctly.
Printing from the CD
Print 3 pages of A4 landscape backing paper.
Print the topper page you have chosen.
If you have added text or chosen a paper with text you will need to go to the properties section when you click print and find your mirror option, this reverses everything so that when ironed onto your fabric it comes out the right way.
You are now ready to transfer the images onto the fabric.
Follow the instructions on the Transfer Paper but it is important that you do not remove the paper until the fabric has cooled as when it is still warm the image will lift from the fabric.

Cut around the pages leaving a 5/8 border for the seams.
(Non Serif version.) Cut out your chosen topper.
Cut a further piece the same width but long enough to fold up to make the pockets.

Turn over one edge and make a hem. Then decide how wide you want the pockets and stitch down towards the fold.Stitch a 1/4 inch seam down both sides to hold in place. Press flat.
Now with the right side of the fabric facing the right side of the zip stitch a 1/4 inch seam. The zip should overhang the edge.Do both sides.

Now attach the pocket to the back section.
Right side of the bag facing the right side of the pockets.
Stitch along the zip seam line.


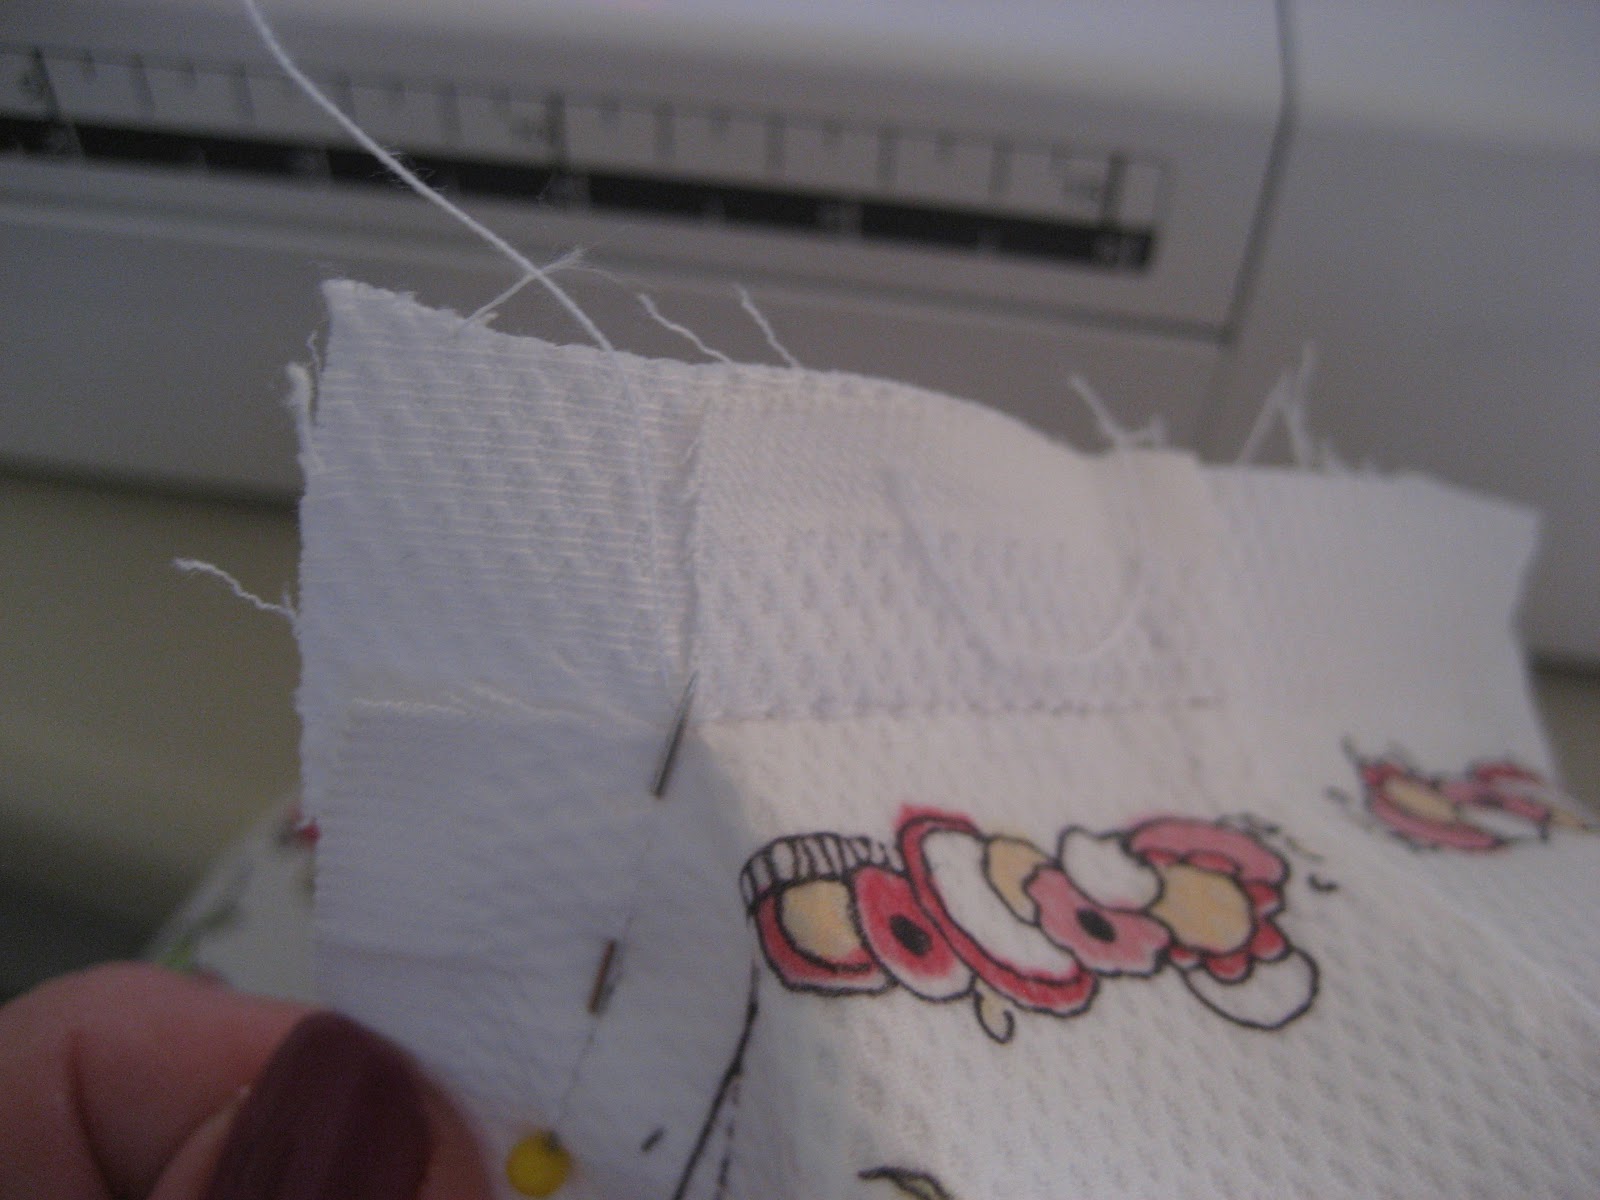
Stitch along the top to form a tuck either side of the zip as shown below.

If you have a seperate topper (non Serif version ) position on the front section not too low or it will end up on the bottom.
If you are adding lace around the topper do this now as it will be easier to stitch.
With right sides together stitch a 5/8 seam along the bottom.Trim one edge down to 1/4 inch.Turn under the other edge and stich along fold.

Cut 2 side pieces from the remaining A4 piece.
4 1/2 inches wide.
With wrong sides together centre the side piece against the bottom seam. As the picture shows stitch a 5/8 th seam across the bottom but leave a 5/8 gap each side.


Trim the seam down to 1/4 inch and machine the bias around the seam. I stitched mine on the outside and slip hemmed it on the inside


Fold over the bias tape at the top to neaten the edge. Finish the bag by making a pocket for the end of the zip and thread a length of ribbon through the tag, either tie a knot or stitch together. this will make it easier to pull .


I hope I have made the instructions clear enough and you are able to make your own version of Leann's bag.
I'd love to see your finished results
Margaret.
5 comments:
what a fabulous tut thank you for taking the time to do it
i will certainly be giving it ago
hugs linda xxx
Yay! Happy dance!The instructions look very thorough indeed Margaret; thanks so much. I will definitely be giving it a go once I've chosen my toppers and background. I've got the transfer paper at the ready :-)
I love my toiletry bag and as you know Kevin is always away and as stolen my previous bag so I have my lovely new one sitting waiting to be used for my very next trip!!!!!! Thanks so much Margaret!!!! My Louise!!!!!!!
I never email anyoen about their pages but i felt I had to comment on ytours. Thank you for taking the time to show us some of your ingenious card folds and construction. I could never have devised any of them ! Brilliant. I loved the Halcyon days card shown today on tv, very effective and i will definitely use it if i can work out how you stick the papers together :) Loved reading your blog.
Post a Comment